Plant and Animal Diversity Teaching
Assignment to Young Minds, 2016
Introduction
Biodiversity is the variation of life forms within a given ecosystem, biome, or for the entire Earth. Biodiversity is often used as a measure of the health of biological systems. The biodiversity found on Earth today consists of many millions of distinct biological species, which is the product of nearly 3.5 billion years of evolution. Two major kingdoms that contribute to the diversity of life on Earth are Plants and Animals.
Plants have six fundamental characteristics: photosynthesis as the almost exclusive mode of nutrition, essentially unlimited growth at meristems, cells that contain cellulose in their walls and are therefore somewhat rigid, the absence of organs of movement, the absence of sensory and nervous systems, and life histories that show alternation of generations. No definition of the kingdom completely excludes all non-plant organisms or even includes all plants. Many plants, for example, are not green and thus do not produce their own food by photosynthesis, being instead parasitic on other living plants. Others obtain their food from dead organic matter.
Animals have developed muscles, making them capable of spontaneous movement, more elaborate sensory and nervous systems, and greater levels of general complexity. Unlike plants, animals cannot manufacture their own food, and thus are adapted for securing and digesting food. In animals, the cell wall is either absent or composed of material different from that of the plant cell wall. Animals account for about three-quarters of living species. Some one-celled organisms display both plant and animal characteristics.
|
|
|
|
Information/Requirements:
· Research plant and animal diversity from one of five pre-assigned (tba) major biomes including: Aquatic, Desert, Forest, Grassland, and Tundra.
One particular and informative website about biomes would be at:
http://www.ucmp.berkeley.edu/glossary/gloss5/biome/
How you wish to deliberate the research is up to you and your partner(s); grading will be separate however.
·
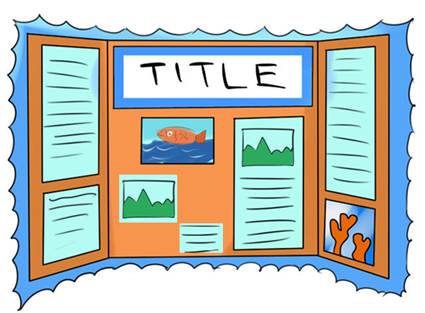
Use a 3-D display board:
Plan your board. Take time to mock up or
"storyboard" your Project Display board on a sheet of paper before
you start printing or gluing anything in place.
Know the size limitations. You don't want your board too tall, too crowded, or with information too low to the ground to read.
Choose the right title. Your title should be accurate for your project but should be catchy enough, or interesting enough, to make a viewer curious.
Tell the whole story. Your board should contain all of the information required for a viewer to understand your project from start to finish.
Make effective use of headlines and subheads. After a minute of looking at the board, the viewer should know what question you were researching, what you expected to happen, and how things turned out.
Know your font sizes. A project display board headline needs to be read almost across the room.
Remember the power of pictures. Photos and diagrams can quickly and efficiently convey information to a viewer—plus, they'll liven up your board! Just be sure to use relevant captions or subheads to further
explain a photo's contents.
Print your materials. Unless there is no alternative, don't hand-write elements for your display board. Use a word processing program to type up your information and headlines, and then print them out.
Show some creativity. What can you do to make your project more inviting or more interesting than anyone else’s?
Don't wait until the last minute. Creating a good project display board takes time. Not only do you need to map out how you want your information to appear, but you'll need to create your diagrams, charts,
images, and text blocks and print them out (in the right sizes) to assemble on your board.
|
|
|
|
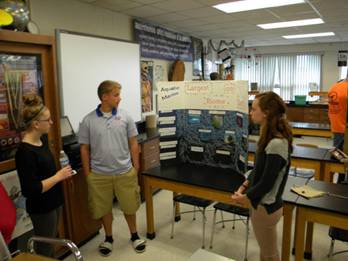
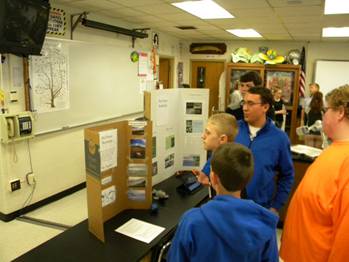
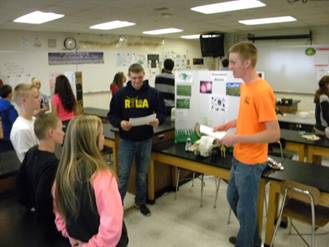
· Teach (not just present) the topic by focusing on the following key requirements:
- Know and understand your topic
- Develop a “hook” to begin
- Use a suitable manipulative(s)
- Show enthusiasm for the topic
- Discuss rather than just reading
- Engage with the participants
- Ask questions and check for understanding
- Address styles of learning (visual, auditory, kinesthetic)
- Target audience will be announced
The entire lesson is not to go over about 10-15 minutes from beginning to end.
Be sure to review the “Rubric” prior to your research and teaching.